Showing posts with label Ukrainian. Show all posts

Tuesday, January 31, 2012

Ukrainian Pirog with Cheese Filling


So, I've mentioned that I used to live in Ukraine. Well, when I lived there, one of my ABSOLUTE favorite things to eat is what they call pie (pirog/пирог). It's so good. And we had a little pirogovaya right around the corner. Very dangerous when you don't feel like cooking!

Since being back in the States, the Ukrainian pie is one thing I have missed SO much. I've wanted to attempt making one, but the dough is very specific and I couldn't find the right recipe. Well, for New Year's Eve, which we always celebrate with a Ukrainian flair, I decided that come Hell or high water, I was going to make one!

So I set to googling. And googling. And then I googled some more. And just when I thought I'd never find what I was looking for, there it was. It had a horrid looking filling in it, but I'd worry about that later. I'd FOUND the dough!

The dough in question is yeast based, light and flaky, and slightly sweet. But not too sweet, because sometimes it has savory fillings. I decided to make mine with a  traditional cheese filling.

I started with the dough, the recipe for which I found, here:

Dough:
2 tsp yeast
3 Tbsp cold water
pinch of sugar
3 3/4 cups flour
2 Tbsp sugar
1 tsp salt
scant 1/4 tsp baking powder
1 1/2 sticks unsalted butter, cut into cubes
1/4 cup plus 2 Tbsp cold milk
2 eggs
3 Tbsp sour cream
2 tsp lemon juice

Dissolve the pinch of sugar in 3 tbsp water in a small glass bowl Add the yeast and cover with plastic wrap. Let stand until foamy, about 10-15 minutes.

While the yeast gets foamy, combine the dry ingredients in a bowl of a stand mixer. With the paddle attachment on low, mix in the cold butter until the mixture resembles coarse crumbs (of course, you can always use a regular mixer for this, but a stand mixer frees up your hands).
Whisk together the cold milk, eggs, sour cream, and lemon juice. Then whisk in the yeast. Add this mixture slowly and continuously to the flour-butter mixture with the mixer on low. Mix until well combined, about 2 minutes. Put a dough hook attachment on the mixer and knead the dough for 5 minutes (or you can knead by hand). Turn the dough onto a lightly floured working surface and fold it over several times to form a soft dough. Cover the dough with plastic and refrigerate for 15 minutes.
After the dough has been refrigerated, now comes the fun part! Forming it and making the filling!
For my pirog, I chose a round one with a lattice top. There are so many variations, though! You can do round, oval, square, rectangle. And for the top, you can do the lattice, or a braided look. Or you could cover the whole thing with a sheet of dough and do some decorative shaped either in dough on top, or cut out of it. I divided the dough in half and rolled on half into a circle the size of my stoneware pan (about 12 inches) with the edges overlapping a bit.
 Here's me working on the lattice, after I've put in the filling:


For my filling in this one, I chose what is called tvorog/творог. If you have a Russian grocery near you, you can find it there. Alternately, you could use farmer's cheese. Or even cream cheese. I added just a little sugar to my tvorog (It comes in a small container, about the size of half of a standard brick, and that is the perfect amount for the filling here) and then some raisins. I mixed it well and spread it in an even layer on the dough circle, leaving room around the sides to fold the dough up.

Once the filling is in, roll out the remaining dough and cut into strips (I use a pizza wheel for this) and then weave a lattice on the top. I like the lattice because it bakes up nice and golden and lets you see the filling.

Now for the egg wash. Whisk together 1 egg and 1 tsp water and spread it over the top of the pie. This will help it bake golden and flaky:


Once you've done the egg wash, place the pie in a 350 degree oven and bake for 30-35 minutes. When it is done, the dough should be golden and flaky looking:


These pies are best served warm, but they can easily be reheated. I don't have any pictures of a slice of the pie because it was gone too fast! 

Now that I have the dough recipe, I look forward to trying other fillings. I'd like to do one of my favorites from Ukraine, a spinach filling. I just have to remember what else was in it. Other favorite filling of mine are: lemon curd, apple, pomegranate, cranberry. I'm a sucker for the sweet fillings. Savory favorites include: spinach, egg, potato (mashed), and my husband loves ground meat.

Please let me know if you try making one and what kind of fillings you try!


Wednesday, June 29, 2011

Ukrainian Vareniki


I mentioned a few months ago that I lived in Ukraine until pretty recently.  I loved everything (well, almost everything) about it there.  One of the things I truly loved and enjoyed was the FOOD.  My husband is Ukrainian and I have studied Russian and Russian/Ukrainian history for years, so I was no stranger to Ukrainian cuisine, but I loved living there and getting to have it whenever I wanted and trying so many new and exciting things.  In addition, there are so many restaurants (on nearly every corner) for cuisine types that we just don't see here in America, at least not often.  Things like Georgian, Armenian, Turkish and Crimean.  Right now, I am practically salivating thinking of the foods I miss!

One of those foods is vareniki: little dumplings with different fillings like meat, cabbage, potatoes, sometimes berries or cherries.  One of the important things is that the fillings are pre-cooked in vareniki.  There are another kind of dumpling, called pelmeni, that are smaller and typically have only meat fillings, where the filling is NOT cooked ahead of time.  My favorite kind of vareniki is potato and sauteed onions, served with just a little bit of butter.  I've been wanting to try making these for some time now, and finally got a recipe from my cousin-in-law in Ukraine.

So here's my first attempt and my favorite of Ukrainian delicacies!

 Vareniki Dough

(I made half this recipe for dough and the recipe yielded 22 vareniki.  A serving is maybe 4-5 as a side dish and 8-9 as a meal)


3 cups flour
3/4 cups cool water
2 eggs
1/2 tsp salt

Mix all ingredients to form a dough ball.  Dough should be neither too dry or too sticky.  If it is either, add a little flour or water and work it is until you get a dough ball that is smooth.  Cover with a tea towel and let sit for an hour.  In the meantime, make the filling.


 Fillings
Potato-
1 large russet potato
1 onion (a sweet Vidalia is great)
butter
milk

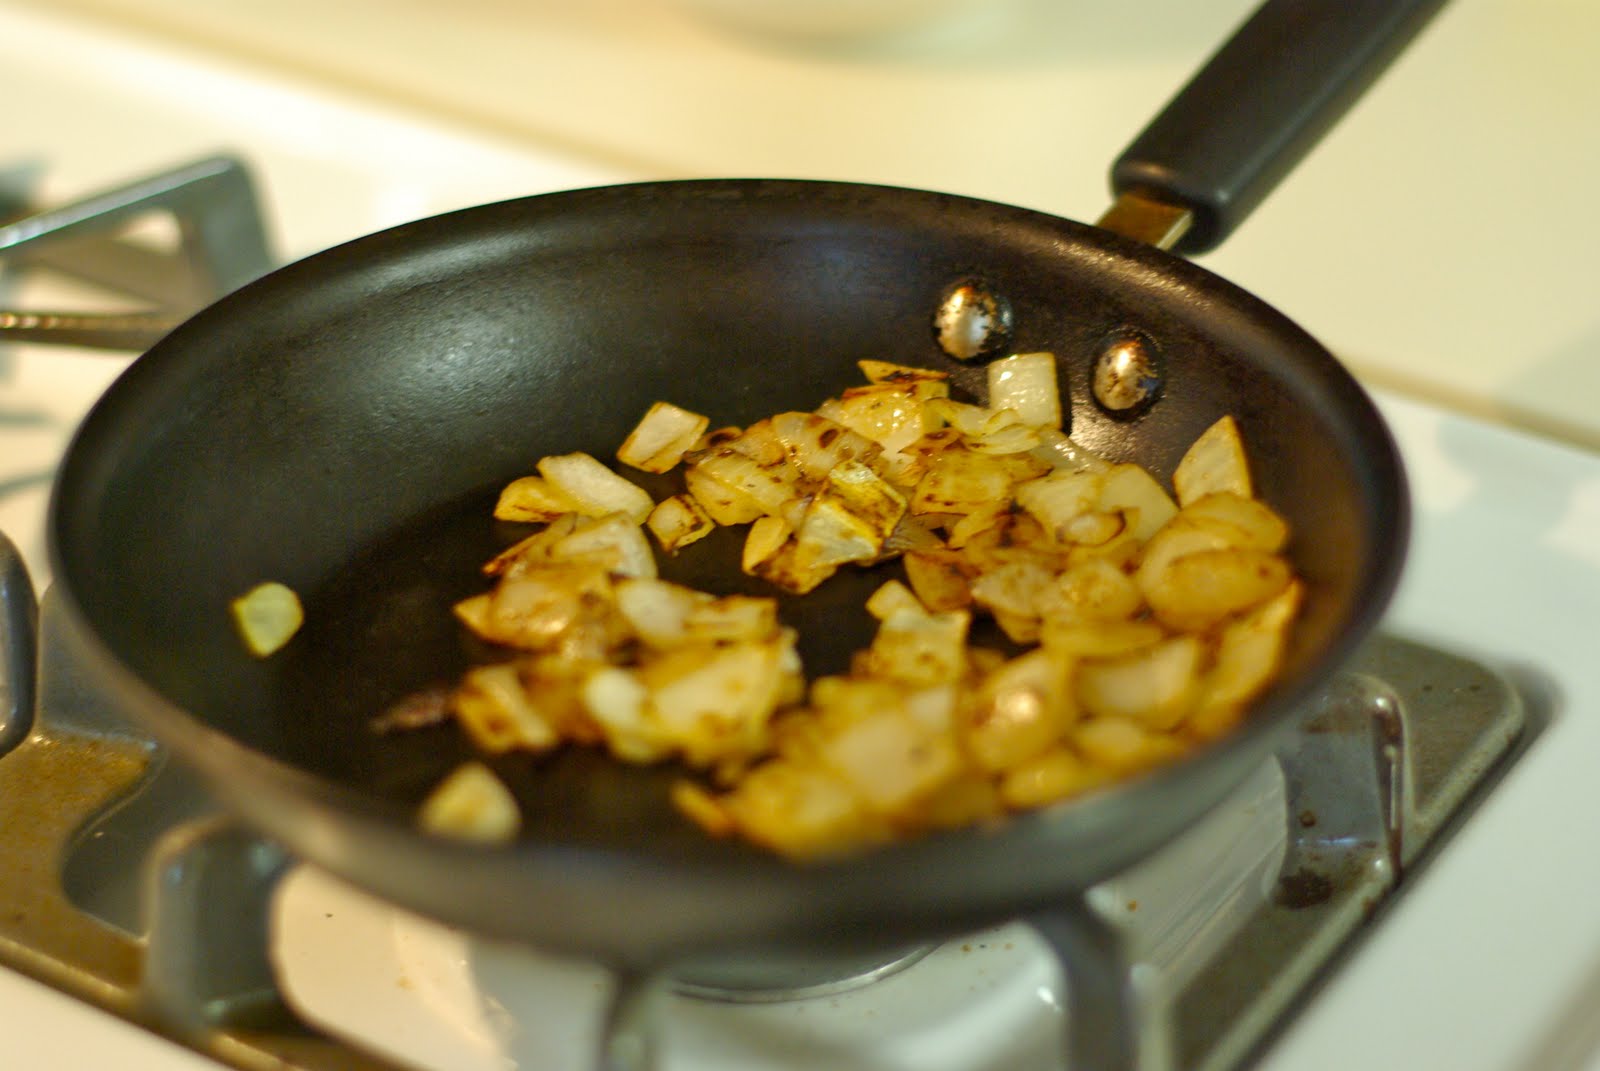
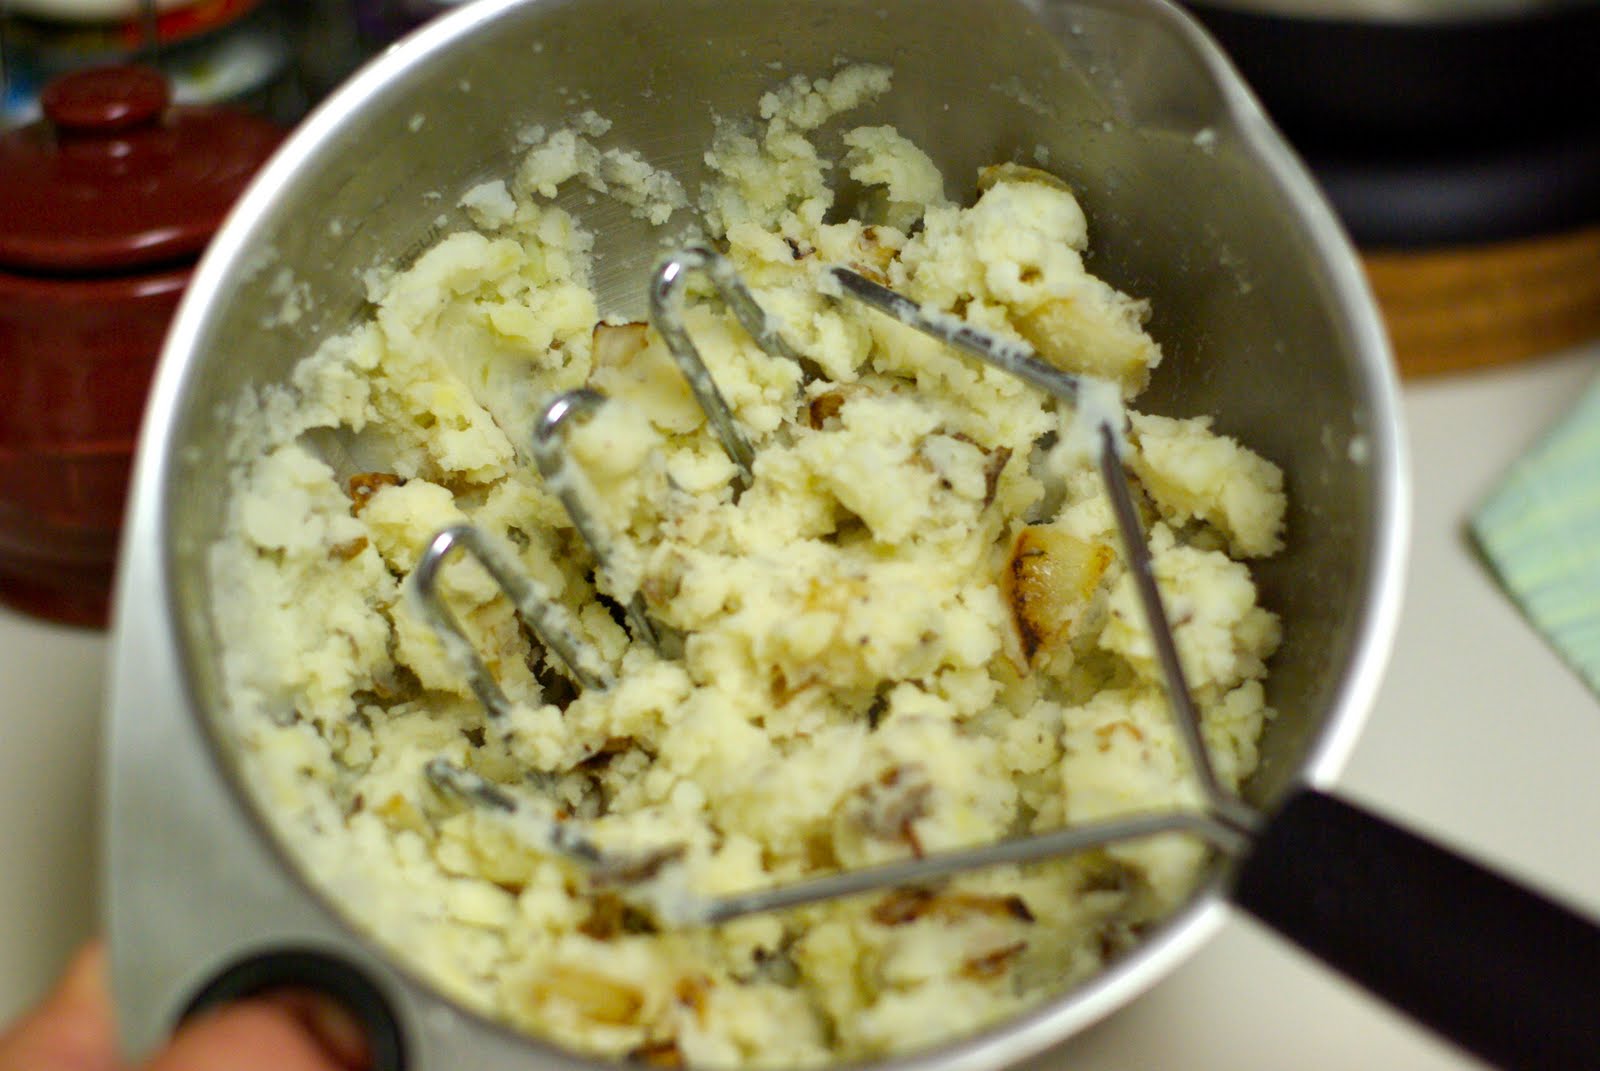
Cut potato into cubes and boil until soft.  Saute onion until tender and browned.  With a ricer or masher, mash potato and onion together, adding butter and milk as needed.  Potato mixture should not be too dry and should hold together well.  Add salt to taste.

Chicken-
3 medium boneless, skinless chicken breast
1-2 onions

Boil chicken in salted water.  Shred or dice the chicken.  Saute onions until tender and browned.  Combine chicken and onion, adding a little broth if it is too dry.  Add salt to taste.


Preparing the vareniki-

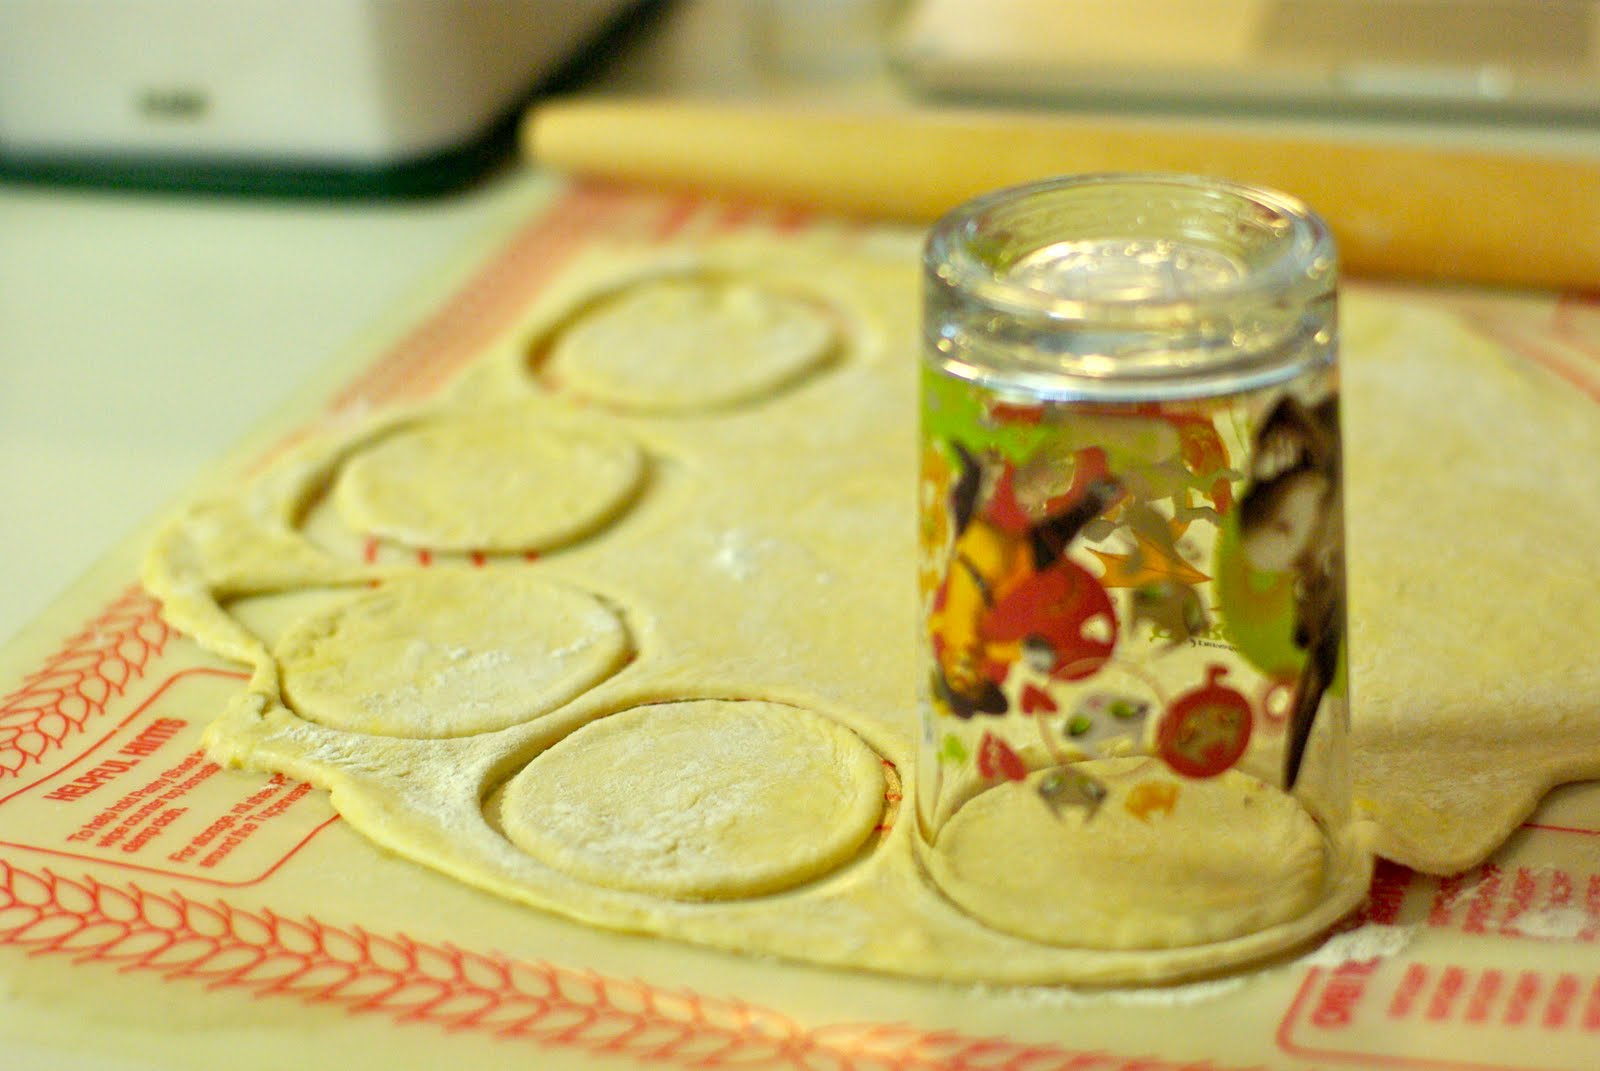
Dust the counter with flour and roll out a chunk of dough (about half or a third if you have done a full recipe.)  Dough should be about 3 millimeters thick. Using a glass or biscuit cutter, cut circles from the dough.  They should be around 3-4 inches across.  You'll want to squeeze as many as you can from the rolled dough.  I noticed that the dough became a little tougher the more I worked with it, so the less re-rolling you need to do, the better.

Take each circle and place a small amount of filling on one half.  You don't want too much or the dough will stretch and won't hold the filling.  Fold the dough circle over and pinch them shut.  If they won't seal, dab a little water on the dough and that should help make the seal.

At this point, the vareniki are ready to be either boiled or frozen.  If you plan to eat some or all of them right away, boil for 8-9 minutes.  If you plan to freeze them, freeze in a single layer and then transfer to a freezer bag.  Preparation from frozen is the same, boil 8-9 minutes.  They will float when they are done.

Serve with butter, fried onions and/or sour cream.  My favorite is with butter and onions, although I skipped the onions this time (I actually forgot to save some out from my onions I sauteed for the filling.)  And I like to eat them with a cup of fresh mint leaf tea with honey and lemon.  I close my eyes and imagine I am back in Ukraine.

I was pretty happy with my results.  I thought they were very authentic, and I've had vareniki as authentic as you can get, both in Ukrainian restaurants and prepared by my Ukrainian aunt-in-law.

As I prepared each one, I put them on a plate.  I ended up cooking basically the top layer for myself and put the rest in the freezer.  What I SHOULD have done was put down a layer of parchment or wax paper.  When I took them out of the freezer to transfer to a freezer bag, a couple were frozen to the plate and I broke them as I tried to pry them off.  Unfortunately, this ruined them because once they are open, the filling will fall straight out when in the boiling water.  So, lesson learned and noted for next time, use wax paper to avoid the vareniki sticking to the plate and getting ruined.


This is my favorite Ukrainian restaurant in Kyiv, Ukraine.  It's called Harbuz and Co.  Harbuz is the Ukrainian word for Pumpkin, so the name of the restaurant is essentially Pumpkin and Co.  I miss this place SO much.  I went there for lunch almost weekly when I lived there.  It's very cozy.

Friday, June 3, 2011

Operation: Vanilla Extract

So, I've been seeing all over the internet about people making homemade vanilla extract.  And I thought, "Hey, I can do that!"

So I tracked down some vanilla beans on Amazon (they weren't expensive and had great reviews-I got them and when I opened them, I was not disappointed) and found a small bottle of vodka in my liquor stash.  It's Ukrainian vodka, which is actually called gorilka (горілка).  I don't know if it's left over from our time in Ukraine, or if it's a gift from a Ukrainian.  Either way, it wasn't going to get drunk, so this seemed as good a use as any.

Every mention I found on making homemade vanilla extract was pretty straight forward.  So here's what I did.  It's a small bottle of vodka, probably less than a fifth.  I took three vanilla beans and cut them down the middle and spread them open, then cut them into thirds.  And into the vodka they went.

That's it.  It should take a couple months to reach the point where it is usable, and today is only day 3.  So it will be a while.
Vanilla Beans from Olive Nation-ordered from Amazon


Right after I added the beans


And after 1 day-you can see it is already starting to darken at the bottom

I'll give it a chance to "brew" and update in a month! 

Wednesday, March 23, 2011

Orange-Honey Muffins

Cheesecake tomorrow, muffins today! I have a playgroup coming over tomorrow and I'm making the cheesecake for the moms, these muffins are for the kiddos.  This is another recipe that has been sitting in my "I cut it out of a magazine" file for I don't even know how long.  The original recipe seems to have come from Florida's Natural Orange Juice.  This particular recipe doesn't seem to be on their site, although I did find a few others I'd like to try!  For this recipe, I made a few modifications.  I used raw Ukrainian honey, butter instead of margarine and 2 eggs instead of egg substitute.


Orange-Honey Muffins
1/2 cup Orange Juice
2 cups flour
1/4 cup sugar
2 tsp baking powder
1 tsp baking soda
1/2 cup honey
2/3 cup margarine, melted
1/2 cup egg substitute
1 tsp vanilla extract

In a medium bowl, combine flour, sugar, baking powder and baking soda.  In a small bowl, combine the honey, juice, margarine, egg and vanilla.  Whisk until smooth and stir into dry ingredients.
Line a muffin pan (mine is stoneware from Pampered Chef) with paper liners and fill each cup 2/3 full with batter (I actually filled them a little more that that).  Bake at 375F for 20 minutes.


The flavor of the raw honey definitely shone through in these muffins, but in a good way.  If you don't like raw honey, you'd probably want to use regular, store-bought honey.  But they came out very moist, buttery and light.  My little helper and I split one to test them out and we agreed that they were yummy! I think they'll be perfect for the kiddos tomorrow!

Sunday, March 13, 2011

A Lovely Lunch-Russian Blini with Homemade Lemon Curd

Today's lunch came from a variety of inspiration.  My family used to live in Ukraine and I would take my son on long walks every Saturday morning once the snow had melted and the temperatures had risen (so, starting in about June!).  The end of our walks were always spent at the large park near our apartment, where there is a large playground, multiple kiosks and a Ukrainian restaurant.  Among the kiosks were a few that served traditional Russian blini .  Most weeks, we would stop for a mid-morning snack and each get a blin-mine usually apple filled (sometimes Nutella) and my son's would be plain (a 2 or 3 year old trying to eat a thin pancake with a filling is just a recipe for disaster).

Ukrainian Playground

Since leaving Ukraine, I miss our walks, I miss the park and I miss the blini!  So, yesterday, we had a nice day of sunshine here and went for an early morning walk.  We walked about 5 miles total (well, I did anyway.  Someone else rode in the stroller a good amount of time) and spent a few hours at the local park.  For the first time, I noticed the lack of even a common vending machine.  How boring!  And then I thought about it, I can't recall a park/playground here in the US that has any kind of "food" at the park. It made me sad :(  I sat there thinking how much I missed our Saturday morning ritual.

Fast forward to the evening and I finally had the time to make a recipe I had found online a few weeks ago at the Poor Girl Eats Well blog for homemade lemon curd.  I love her recipes because they are always so creative and ALWAYS inexpensive to prepare.  Not long after I saw the lemon curd recipe, my neighbor brought home a dozen lemons for me from someone at work with a lemon tree.  Jackpot!  Of course, life always interferes and I hadn't found the time yet to try it out.  Her recipe is for Meyer lemon curd, and to be quite honest, I had never even heard of a Meyer lemon.  I have no idea if my lemons are the Meyer variety or not, but I suspect not.  They look pretty much like the lemons I buy at the grocery store.  But they are still lemons, so I decided to try the recipe.

It came out AMAZING.  But what was I going to do with the large jar of lemon curd?  This afternoon I was trying to come up with a creative lunch for me and my son and remembered my blini craving from yesterday.  I thought, "Hey, I can MAKE blini."  I've done it plenty of times.  And so, lunch was born.  I made up a half batch of blini for us, mine filled with the lemon curd and his filled with strawberry jam (he has graduated to being able to eat a filled blin since our days in Ukraine.)  We added a little yogurt and had a lovely lunch!

Homemade Lemon Curd

6 large egg yolks
3/4 c Meyer lemon juice (like I mentioned, pretty sure my lemons are the regular variety)
1 t finely grated Meyer lemon zest
1 c sugar (I used the Splenda sugar blend)
1 stick of butter, cut into small cubes

Combine the egg yolks, juice, zest and sugar in a medium saucepan and whisk together until smooth (this will help avoid chunky bits of cooked egg yolk).  Cook over medium heat, stirring constantly until the mixture coats the back of a spoon (about 8-9 minutes).  Remove from heat and stir in the butter, one cube at a time, making sure that the butter melts completely before adding the next piece. 


Pour the finished lemon curd into clean containers and either continue your usual canning process, or cover with a layer of plastic wrap that's been placed directly on the surface of the curd.


Blini-Russian or Ukrainian Pancakes (this recipe is for a half batch and makes about ten 6-inch blini) This recipe is adapted from one at Allrecipes.com


  • 1 egg
  • 1-1/2 teaspoons white sugar (again, I use Splenda blend)
  • 1/8 teaspoon salt
  • 1/3 cup all-purpose flour
  • 1-1/4 cups milk
  • 1-1/2 teaspoons vegetable oil
  • 1-1/2 teaspoons butter


In a medium bowl, whisk together the eggs, sugar, and salt. Mix in the flour, and then stir in the milk. Mix until smooth and well blended. The batter will be very thin.

Heat a griddle or skillet over medium heat. Lightly oil the pan or spray with cooking spray. Pour about 2 tablespoons of the batter, or as much as desired, into the pan. Tilt the pan to spread the batter out evenly. When the edges are crisp looking and the center appears dry, slide a spatula carefully under the blin. Flip, and cook for about 1 minute on the other side, or until lightly browned.


Remove blin to a plate. Stack the blini on top of each other. To serve, spread with desired filling, then fold in half, and in half again to form a triangle. 


Blini with homemade lemon curd filling


Monday, January 31, 2011

Ukrainian Walnut Cake


So I decided to get a little crazy and make this cake for a party at Christmastime. My mom cut it out of some magazine years ago and it was one of those things I always looked at in my recipe file and never has the energy to try. It was easily the most labor intensive cake I have ever made. It took hours, with the grinding of the walnuts and the whipping of the egg whites, making the filling and the icing.


But, wow, was it ever worth it. It was so rich and so decadent, but because of the egg whites, it was still so light and not heavy at all. It was not an easy cake, nor it is low-cal, and it was very time consuming, so if you are looking for something quick and easy (on your time and your waist), this is not your cake. But if you've got the time, and the inclination, you won't be sorry.

Ukrainian Walnut Cake
10 oz finely ground walnuts, plus 3 Tbsp chopped walnuts
1/2 cup all purpose flour
2 tsp cornstarch
1 tsp baking powder
12 large eggs, separated
1/4 tsp salt
1 1/4 cup sugar
3 1/2 tsp vanilla extract
3/4 cup butter, softened
6 oz unsweetened chocolate, melted
6 1/2 cups sifted confectioner's sugar
3/4 cup strongly brewed coffee (I used instant)
1 1/2 Tbsp coffee liqueur (optional)
2 cups heavy cream
2 tsp instant coffee granules

1. Make the tortes: Heat oven to 350F. Butter the bottoms of two 10-inch round cake pans and fit with circles of parchment paper. Butter the paper and pan sides and set aside. Combine the ground walnuts, flour, cornstarch, and baking powder and set aside. Place the egg whites and salt in a large bowl and beat until stiff peaks form. Set aside. Place the egg yolks in a large bowl and beat on medium-high speed. Gradually add the sugar and continue to beat until the mixture becomes thick and fluffy -- about 5 minutes. Add 2 tsp vanilla, mix to combine and set aside. Sprinkle the walnut mixture over the yolk mixture and fold in the egg whites until combined. Divide the batter between the prepared pans and bake until the cake centers spring back when lightly touched -- 25 to 30 minutes. Run a knife around the pan sides and turn the cakes out onto wire racks. Cool completely.

2. Make the mocha frosting and coffee filling: Beat the butter, chocolate, remaining 1 1/2 tsp vanilla, and 1 1/2 cups confectioner's sugar together until creamy. Alternately add the coffee, liqueur, and 4 1/2 more cups of confectioner's sugar and continue to beat until fluffy. Set aside. Beat the heavy cream, instant coffee and remaining 1/4 cup confectioner's sugar to soft peaks..

3. Assemble the cake: Split the cakes. Place one split layer on a cake plate and spread 3/4 cup mocha frosting over top. Follow with a third of the coffee cream.Place second layer on top and repeat with frosting and cream. Repeat with third layer. Place the final layer on the cake and spread the remaining mocha frosting over the top and sides of cake. Decorate with the chopped walnuts. Refrigerate until ready to serve.